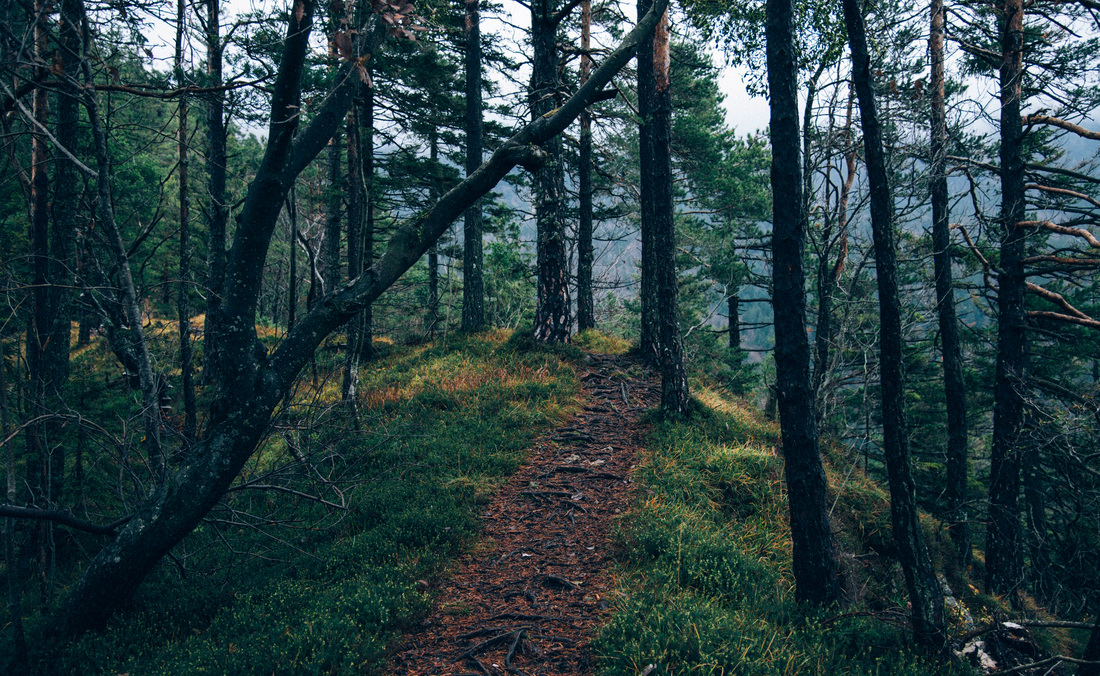
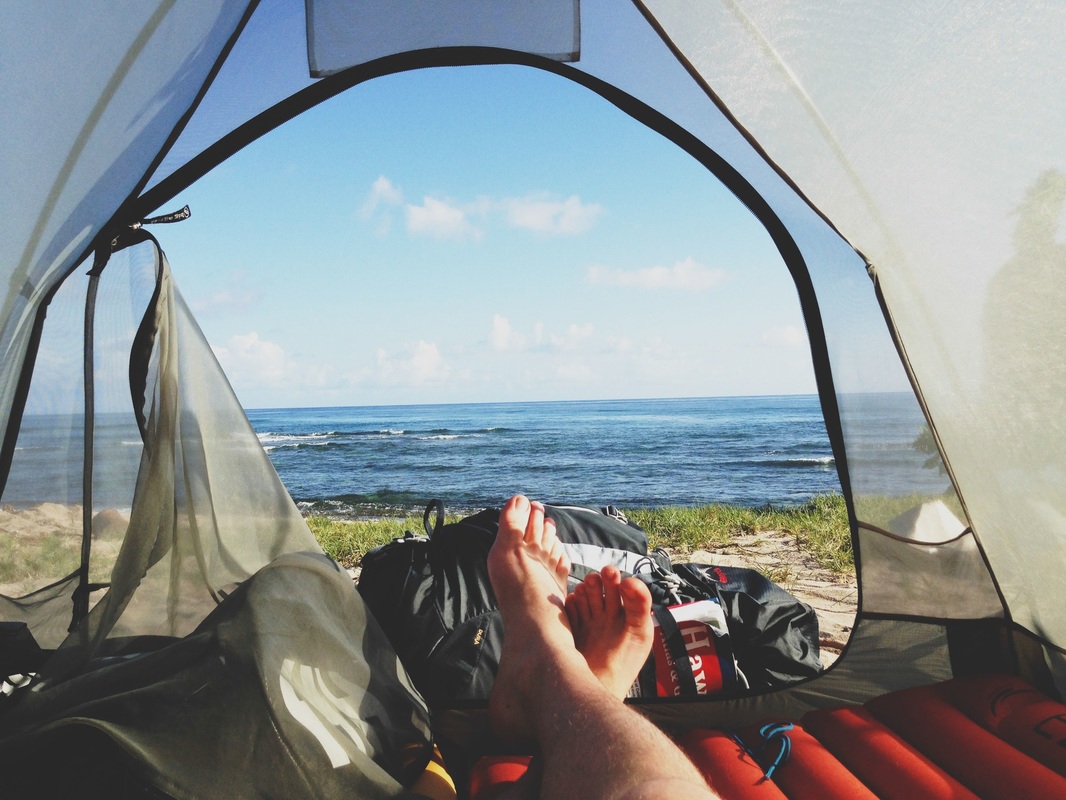
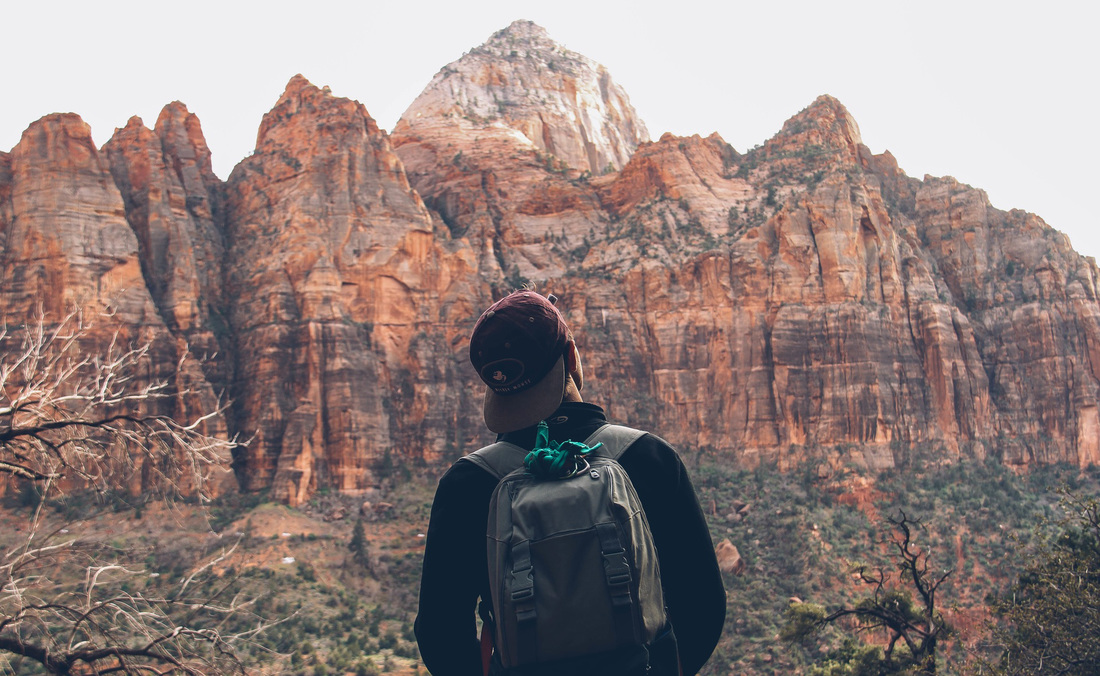
I'm James. This is my year of travel.
 
You can select any adjustment in the list, or select Undo All to undo all of your adjustments. To return to a specific adjustment, select the Edit mode History Window arrow at the bottom of the Edit mode panel, and select your desired adjustment and double-click it. For example, if you applied a series of adjustments, such as color adjustments, followed by sharpening, and exposure tweaking, but you want to revert back several steps to the state your photo was in with just the color adjustment, you would use the Edit mode History Window. You can also use the History Window to jump around in your editing sequence and revert back to a previously-applied adjustment. You can use the Edit mode History Window to view the sequence of changes you have made to your image. Or select Undo All to undo all of your adjustments. To return to a specific adjustment, select your desired adjustment in the pane and double-click it. To open the History pane, click Panes | History. For example, if you applied a series of adjustments, such as color adjustments, followed by sharpening, and exposure tweaking, but you want to revert back several steps to the state your photo was in with just the color adjustment, you would use the History pane. You can also use the History pane to jump around in your editing sequence and revert back to a previously-applied adjustment. You can use the History pane to view the sequence of changes you have made to your image. For steps to revert your image, see Restoring originals and develop settings. You can discard your Edit settings and revert to the Develop or the original settings for your image. Reverting to Develop Settings or Original Settings 
You can apply adjustments to specific tones or colors with Pixel Targeting. See Saving images in Edit for more information. You have several options in saving your images.In the Detail group, click Sharpen, Blur, Clarity, Detail Brush, or click Noise to remove or add noise.In the Color group, click White Balance, Color Wheel, Tone Wheels, Color EQ, Convert to Black & White, Split Tone, or Color LUTs.In the Exposure/Lighting group, click Exposure, Levels, Auto Levels, Tone Curves, Light EQ™, Dehaze, Dodge and Burn.In the Geometry group, click Rotate, Flip, Crop, Liquify, Perspective Correction, Lens Correction, Lens Distortion Correction, or Resize.In the Add group, click Watermark, Borders, Vignette, Tilt-Shift, Grain, or click Special Effect and select an effect.In the Repair group, click Red Eye Reduction, Skin Tune, Chromatic Aberration, or Repair tool.Open the Layers pane to work with layers.At the top of the panel, use the Selections or Drawing tools.To understand more on how changes are saved, see How ACDSee Ultimate saves changes to images. Changes you make are saved to a separate file, so that you can revert to the original or the developed version at any time. When you take an image through Develop or Edit, the original is never altered. In Edit, use the pixel-based editing tools, such as red eye removal, special effects and many other tools, and combine them with the Selections tool to fine-tune your image. After completing all of your image corrections using the non-destructive tools in Develop, take your image into Edit to apply finishing touches to your image.
0 Comments
Leave a Reply. |
AuthorWrite something about yourself. No need to be fancy, just an overview. ArchivesCategories |
 RSS Feed
